How to recognize & disassemble your crankset
What are the different standards of bicycle axles?
The LIFT-MTB “V4” system allows you to keep your bottom bracket and change only the cranks without disassembling or changing the bottom bracket, making the change of configuration quick and easy.
If you want to quickly change your bike from one configuration to another, simply put on or remove the axle diameter adapter set that matches your current bottom bracket axle.
The kit is delivered with a set of adapters, in order to transform the axis of the kit to all the standards of the market which are the following
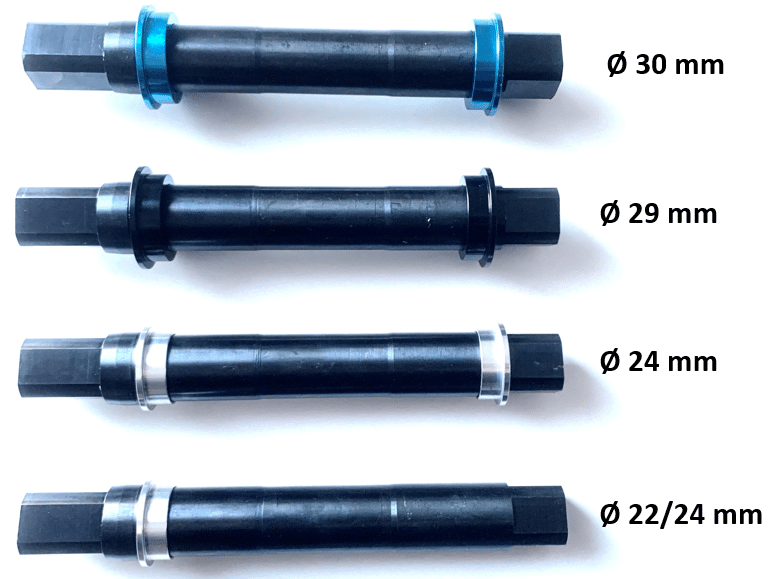

We use high quality Chromoly steel axles 100% machined in France with a flat square footprint of 22mm Oversize diameter, and cranks with double clamping screws, it is a standard used on high end BMX cranksets so unbreakable!
Not to be confused with the basic steel conical square bottom bracket axle with a small diameter of 12.6mm, as found on low-end bikes, which are generally unreliable or at least completely outdated.
How to recognize & disassemble your bicycle crankset ?
If you want to check the diameter of the crankshaft of your bike to mount ourcrankshaft motor kit and transform his bike into an electric bike, it takes less than a minute to disassemble a SHIMANO / SRAM / RACE FACE / HXR / ROTOR crankset… and choose the right adapter.
On a crankset
SHIMANO
you just have to unscrew completely the two small BTR clamp screws, then unscrew the big torks key (usually the screw is in plastic) which is screwed in the axle.
Axle size found at SHIMANO :
– 24mm for 100% of Shinano cranksets with through axle
(this is the most common standard that represents 70% of sales!)

Here’s how to disassemble the pedal board in video.
From the 40th second to 60 seconds on the video:
Sram bottom bracket axle
You just have to unscrew the smaller of the two BTR screws on the left side that are screwed into the axis
-1- This BTR screw is unlocked.
-2- Once unlocked the screw turns freely a few turns.
-3- The screw becomes again harder to unscrew when the small BTR screw comes to abut on the larger one, it is generally there that one hesitates to force, but you can go there it is necessary to continue to force with the unscrewing, because in fact the small screw that you unscrew will come to abut on the larger screw, which will make it possible to extract the crank.
Axle size found at SRAM :
– 22/24mm for steel axles (in this case it is often engraved GXP on the crankset or on the bearings)
– 29mm for aluminum axles (marked Dub on the crankset or on the bearings)
– 30mm some versions are released in 30mm aluminum but it is rather rare at SRAM.

Here’s how to disassemble the pedal board in video .
From the 40th second to 1 minute on the video:
Race face bottom bracket axle
You just have to unscrew the smaller of the two BTR screws on the right side which are screwed into the axis
-1- This BTR screw is unlocked.
-2- Once unlocked the screw turns freely a few turns.
-3- The screw becomes again harder to unscrew when the small BTR screw comes to stop on the bigger one, it is generally there that one hesitates to force more when one does not know the principle, but you can go there it is necessary to continue to force with the unscrewing because in fact the small screw that you unscrew will come to stop on the bigger screw, which will make it possible to extract the crank.
Axis size found at RACE FACE:
– 24 mm for steel axles
– 30 mm for aluminum axles

Here is how to disassemble a RACE FACE crankset in video.
From 1.10 minutes to 1.45 minutes on the video:
Crimped pedal axle
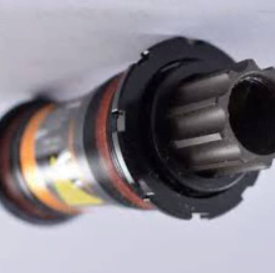
Although less common, some bottom brackets of all brands use crimped bottom brackets, meaning that the bottom bracket bearings and the bottom bracket axle are one and the same part.
These are cranksets that generally date back to 2005 or earlier for high-end bikes, most brands have replaced this type of crimped crankcase with the standard thru axle mentioned above (case 1/2/3) on their mid/high-end version.
Some mounts can also be mounted like this on very recent bikes even if it is more rare.
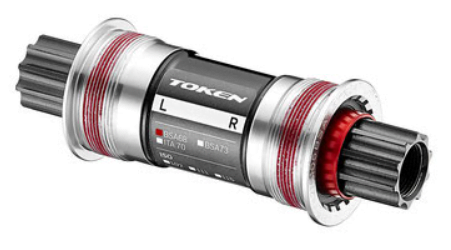
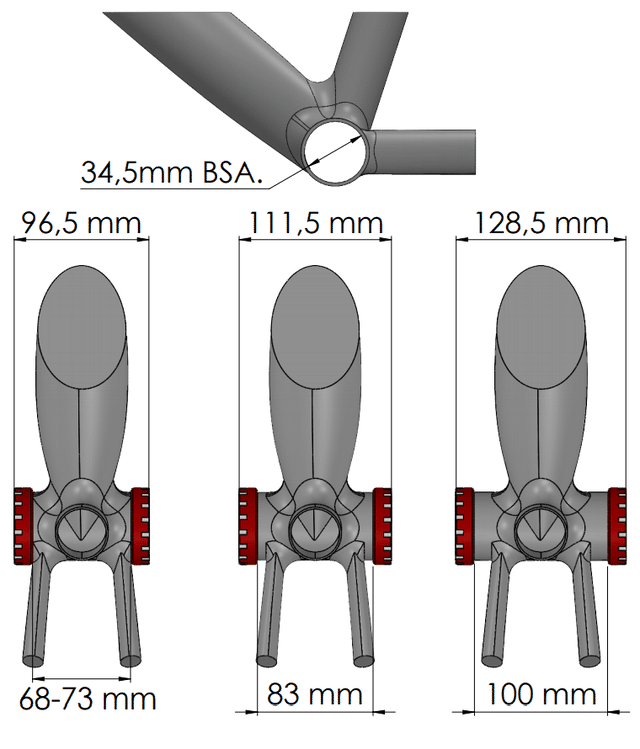
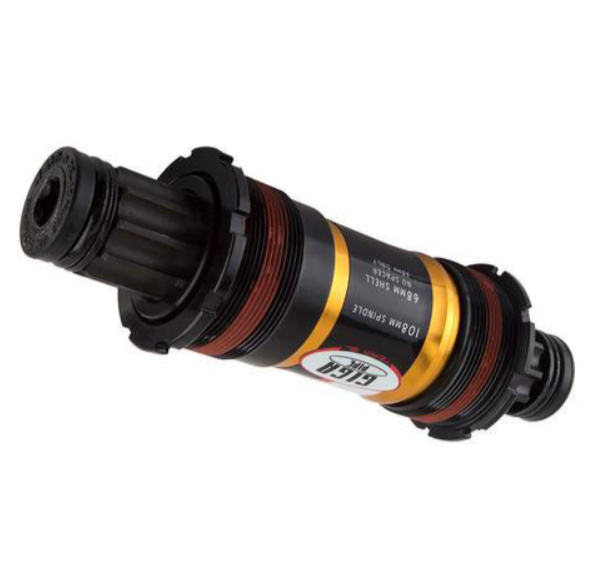
This type of crimped bottom bracket axle exists only for frame versions with a BSA type thread, the bearing / axle assembly is therefore screwed into the frame, see dimensions opposite.
To adapt the conversion kit into an electric bike this bottom bracket assembly will have to be unscrewed from the frame, to be replaced by external bearings like the 1/2/3 cases, which will allow to put a through axle of diameter generally 24mm.
The axle of the LIFT MTB pedal motor will then slide into the bearings.
More information on the crimped cases.
Brands and models of cranksets that have used this standard of crimped case, and that can be found on bikes generally before 2005 and are :
– Crankset with SQUARE axle version whether it is SHIMANO / SRAM / RACE FACE …
– Shimano crankset OCTALINK version.
– Crankset version ISIS (race face, fsa…) TRUVATIVE HUSSEFELT and TRUVATIV HOLZFELLER.
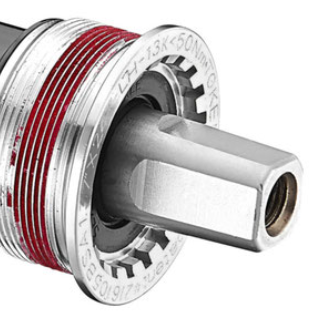
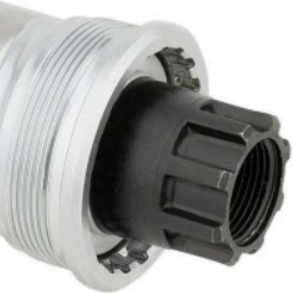
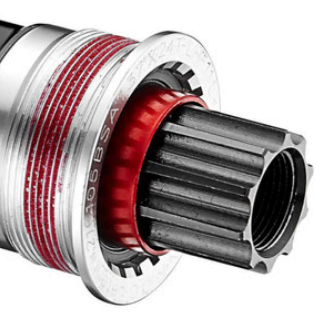
Crimped case with square axle
Crimped case with OCTALINK axis
Crimped housing with ISIS axis
To recognize this standard crimped :
There are two particularities to recognize this type of box:
-1- The number of screws :
They are 3 pieces cranksets, so we have two cranks, left and right, and the axle / bearings set in the frame.
There is therefore
a tightening screw on each side of the cranks
on this type of crimped axle.
Additional info:
The other models with through axle presented above (and more common), are in 2 pieces, so we will have a crank only and a crank / axle in one piece.
There is therefore only screws on one side a crank handleThere is therefore a screw on one side of a crank, on cranksets with a through axle, the other opposite side being generally simply hollow.
-2- The clamping impression of the case:
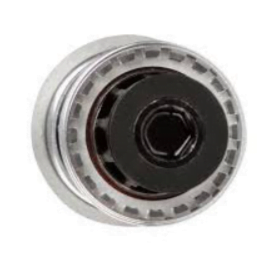
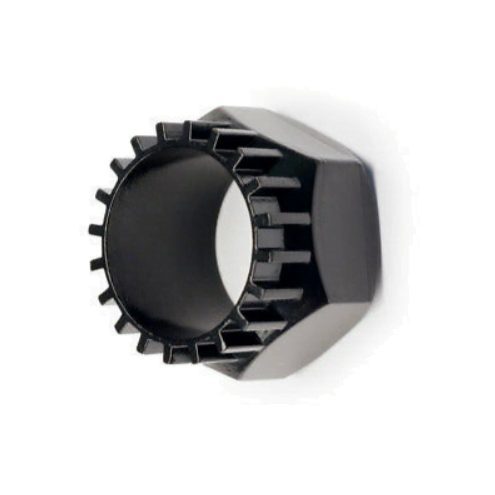
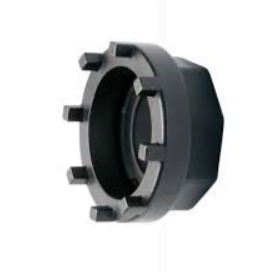
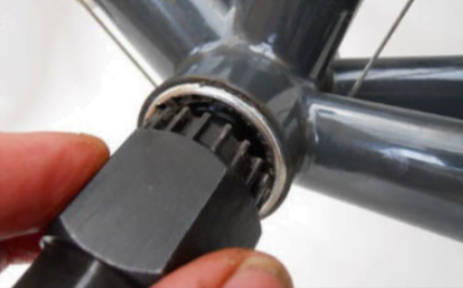
We can see the typical imprint of the internal lugs to put the loosening tool inside the frame.
(below is a view of the 2 types of tools with lugs that allow the dismantling of crimped cartridges).
To disassemble the cranks with a crimped case type ISIS, Square, or OCTALINK.
You will first have to extract the crank with a crank extractor as shown on the picture on the right and on the video below.


Here’s how to remove the cranks of a crankset with a bearing / axle set crimped in video and replace it with a box with a through axle generally in 24mm.
